and then I popped over to Paula Cheney's blog where you'll find an excellent step-by-step tutorial HERE to help get you started. And cor blimey, I have to say I was pretty pleased with my first attempt...
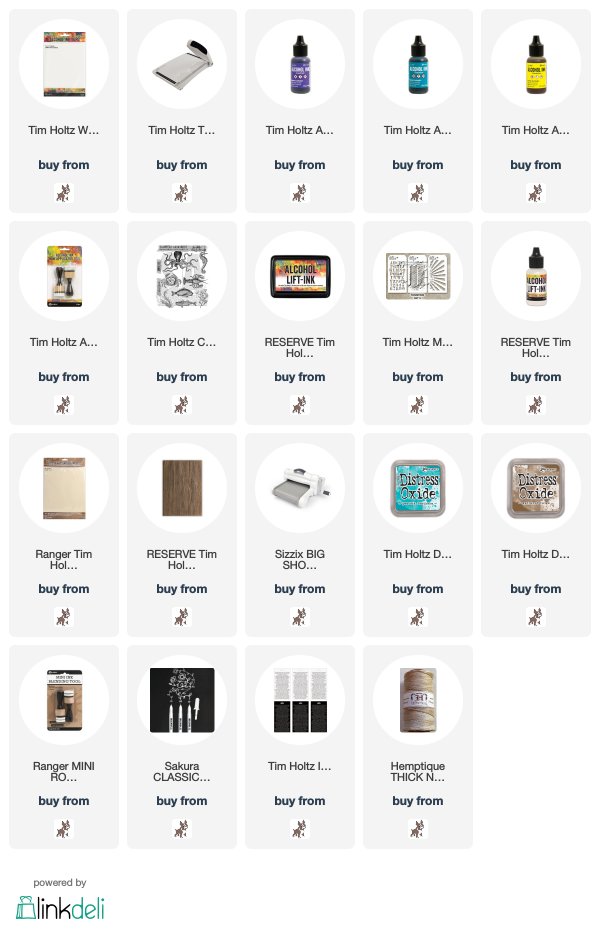
I trimmed the 5"x 7" sheet of Yupo in half to make two backgrounds, added drops of Amethyst, Dandelion and Turquoise Alcohol Ink and a drop of Blending Solution to the felt pad on a mini round blending tool and pounced until I was happy with the result (the one on the right) but I still had ink left on the pad so I swiped it across the second piece of Yupo (the one on the left) which I set aside for later.
It is very important that you use a clean stamp for this technique to prevent contamination of the Alcohol Lift Ink Pad and I don't have many of those. My idea of cleaning stamps is a quick swipe with a rag and with my "not used often" Archival Ink Cleaner running on fumes, it was a bit of a mission. But hey ho, there were two images on Tim Holtz/Stampers Anonymous Sea Life that fitted the bill. Once I had inked and stamped the image, I grabbed a clean paper towel and dabbed (do not rub) repeatedly turning the towel to a clean spot each time. Once there was no ink coming off on the towel, I buffed the image with a soft cloth and repeated the process for each image.
I put the smallest drop of Alcohol Lift Ink re-inker on to a clean piece of felt, pounced on my work surface to distribute the ink and pounced through the Bubble Mini Layering Stencil from Set 5 and repeated the process of dabbing and buffing. Pretty amazing, if I say so myself.and using the other clean stamp on the Sea Life set
I trimmed a piece of Distress Media Heavystock to be slightly smaller than the A2 card blank, embossed wth the Lumber 3D Texture Fade and coloured with Peacock Feathers and Gathered Twigs using mini round blending tools.
I added extra bubbles with a Sakura White Gelly Roll Pen and Idea-ology Small Talk Stickers.
But my new addiction with Alcohol Lift Ink will have to wait because I'm off on a fun weekend trip to the ALLandCreate workshop to meet up with lots of crafty friends. First there's a suitcase to pack and those grungy hands and nails sure need some serious attention. I'm so looking forward to sitting back, relaxing and letting the train take the strain, no need to be there hours before departure, no security queues to negotiate, no restrictions on what you can carry in your luggage and the view from the window is far more interesting than staring at clouds. Enjoy your weekend whatever you have planned and I'll see you all on Monday with my DT project for a very special challenge over at the Simon Says Stamp Monday Challenge Blog and a little birdie tells me that the wonderful elves at Simon Says Stamp have been busy packing up extra special boxes of goodies for you to win.
Toodle-oo for now
Hugs Kath xxx


