and the theme for this week is...
TAPE IT UP
This week the team are showcasing the fabulous products from Jane Davenport. You don't have to use them to join in the challenge but if you have them, we would love to see what you create with them and I'm absolutely delighted that we are welcoming back my lovely friend, the super talented Anne Redfern aka Redanne as our August Designer In The Spotlight and if you haven't visited Anne's blog, you are in for a real treat.
I decided to take a leaf out of my very talented team mate Andrea's book (no pun intended) who is the truly inspiring Queen of Notebooks and make one of my own for my handbag because I never seem to have paper and pen handy when I need it.
I then decided to change tack slightly and trimmed each sheet in half so that I could create a top bound notebook. I applied Dusty Concord Distress Paint to sections of the stamp from TimHoltz/Stampers Anonymous Half Tone & Rings using a mini round blending tool and washed the stamp and the blending foam immediately after use.
I added strips of Jane Davenport Washi Tape to the cover and pages of the notebook
followed by torn strips of Dina Wakley collage paper, fixed in place with Distress Collage Medium Matte, another quick drying product which is probably why it is my favourite go-to adhesive.
I applied White Gesso to a bottle cap with a mini round blending tool and stamped randomly on each page.
I added Life Quote Remnant Rubs
I added white splatters by tapping firmly on a White Posca Pen
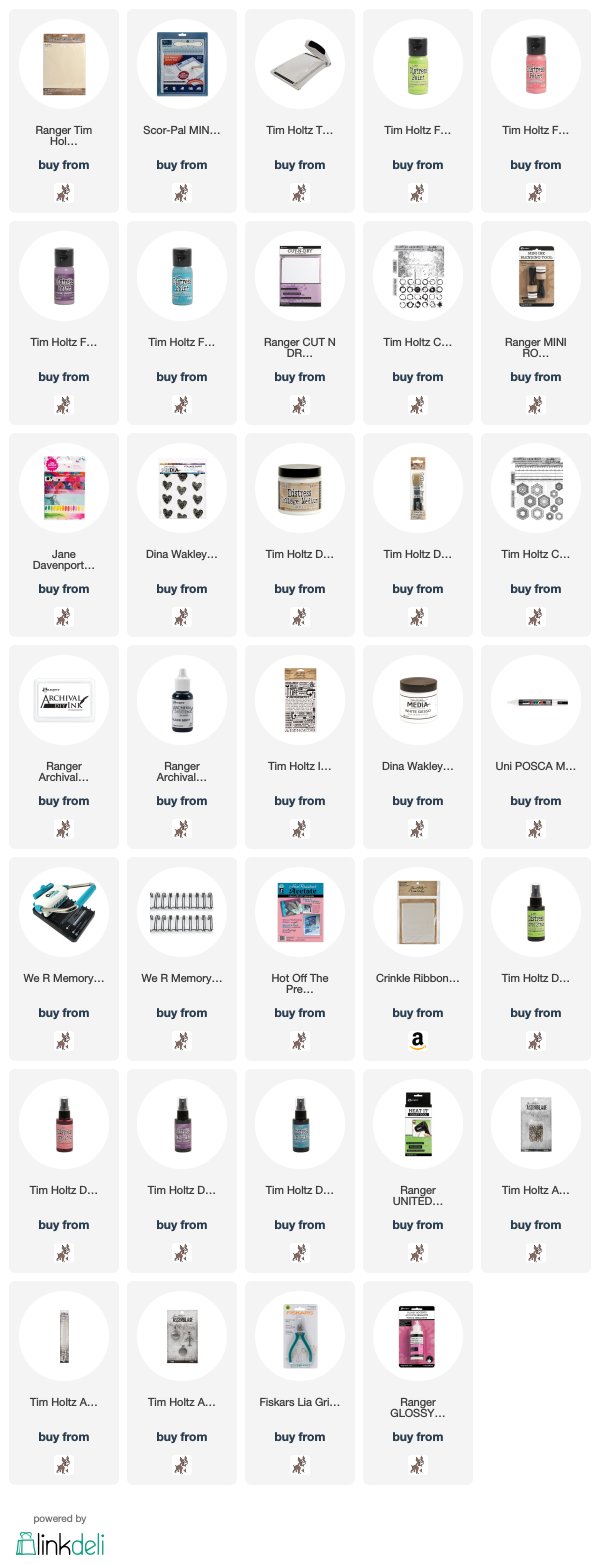
You can find all the products I used over at the fabulous Simon Says Stamp online store...just click on the links below...trimmed down pages from an old notebook and used The Cinch to punch the holes ready for binding.
and here's a close up look of the covers and pages...I added white splatters by tapping firmly on a White Posca Pen
I decided, after binding the notebook, that perhaps it would be a good idea to add Acetate covers so I'm sharing a little tip on how you can add protective covers or extra pages at a later date. Make two cuts at each hole to create a slit and voila, your covers will slide in place around the binding wires as if by magic.
I spritzed Idea-ology Crinkle Ribbon with the same colours of Distress Spray Stain, spritzed with water and dabbed off the excess colour on paper towel
and while it was drying, I had a dig around in my Tim Holtz Assemblage stash to create a hanging charm
I tied the ribbons to the binding wires, added the Assemblage charm, coloured the wording with Worn Lipstick Distress Crayon and covered with Glossy Accents.
Why don't you pop over to the Monday Challenge Blog and check out the amazing creations from my very talented Design Team mates and as always you all have the chance to win a $50 gift voucher to spend at Simon Says Stamp. You have until Monday 8am Ohio time...1pm UK time...2 pm CET to join in...
You can also follow Simon Says Stamp on Instagram
and if you use Instagram...
please add #sssmchallenge to your entry uploads so we can see them on there too
I look forward to seeing what you create this week...
Have Fun and Happy Crafting
Hugs Kath xxx


