I love snowflake images and the snowflakes in this stamp set are gorgeous, 8 in total ranging from large to teeny weeny, perfect for creating backgrounds. And before you know, I had another 3 cards for my Christmas Card Box. This is a long post with lots of step-by-step photos, so perhaps you might like to make yourself a cuppa and find a comfy chair.
I trimmed Simon Says Stamp Slate cardstock to be slightly small than an A2 card blank. I stamped the snowflakes with Versamark and Simon Says Stamp Intense Black heat embossed with Simon Says Stamp Antique Gold, Ranger Superfine Clear and Superfine White embossing powders. ( I stamped and heat embossed each colour of snowflake before moving on to the next).
I arranged the snowflakes on a panel of Kraft card in my Stamp Platform, inked with Versamark ink and heat embossed with Ranger Superfine Clear.
I coloured the images using Arteza pencils
I stamped the sentiments from Simon Says Stamp Stained Glass Greetings with Versamark, heat embossed with Ranger Superfine Clear and Superfine and coloured the JOY sentiment with the pencils.I re-stamped the centres of the two main snowflakes on to white card using Ranger Potting Soil Archival, heat embossed with Ranger Superfine Clear, fussy cut, fixed in place with Distress Collage Medium Matte and added splatters of White Gesso.
I trimmed the panel at the top and bottom, added to an A2 card blank and added strips of Tim Holtz/Idea-ology Design Tape.
I trimmed a panel of Simon Says Stamp Lipstick Red cardstock to measure 5.1/2" square, stamped the largest snowflake with Versamark ink and heat embossed with Simon Says Stamp Antique Gold.
I repeated with a smaller snowflake, heat embossed with Wow Clear SparkleI filled in the blanks with smaller snowflakes, heat embossed with Ranger Superfine White, Superfine Clear and Antique Gold
I fixed a strip of vellum to the panel and stamped the sentiments from SSS Stained Glass Greetings inked with Versamark and SSS Intense Black and heat embossed with Ranger Superfine White and Clear.
I added a gold embossed edge to the panel as beforeI die-cut Simon Says Stamp Kate Snowflake 3 times from white card, layered together and heat embossed the centre using a Quick Glue Pen with Antique Gold.
Well done, if you made it this far. Thank you for sticking with me and it's my turn now to make myself a cuppa and dive in to the gorgeous Simon Says Stamp December Card Kit which has arrived just in time to create this year's gift card holders.
Have fun whatever you are creating and I'll see you all soon.Hugs Kath xxx
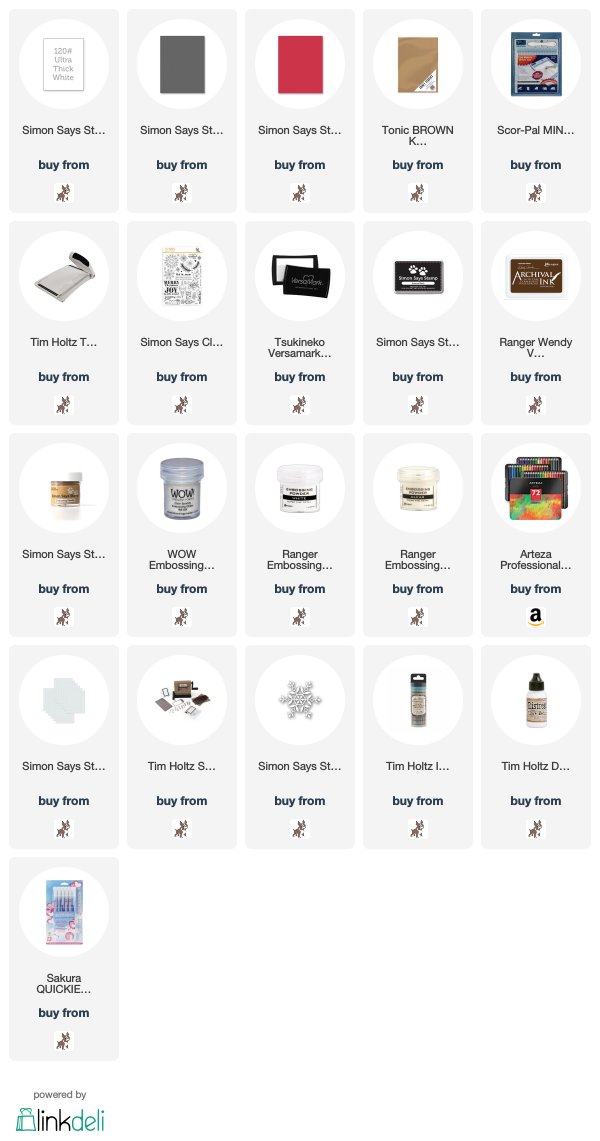
SUPPLIES:
*** Where available I use compensated affiliate links which means, if you make a purchase, I receive a small commission at no extra cost to you. You will find my affiliate and product disclosure HERE.


